User Feedback in Laravel

Feedback is a feature that allows you
to interact with your customers when they hit an issue. While most of Sentry will just
work out of the box, Feedback requires a bit more work on your end. Today we're going
to try to help you get started so you can get back to shipping.
Getting Started
The first step to getting Feedback working is to configure a custom 500 error page,
and ensure that page has context available from Sentry. To do this, we open up our error
handler in App/Exceptions/Handler.php. From there, we just need to ensure that we're
rendering an error response, and then we pass in the context:
<?php
class Handler extends ExceptionHandler
{
private $sentryID;
public function report(Exception $e)
{
if ($this->shouldReport($e)) {
// bind the event ID for Feedback
$this->sentryID = app('sentry')->captureException($e);
}
parent::report($e);
}
public function render($request, Exception $e)
{
return response()->view('errors.500', [
'sentryID' => $this->sentryID,
], 500);
}
}Next up we need to add in the Feedback widget to our error template. In our example above
this is at resources/views/errors/500.blade.php:
<div class="title">Something went wrong.
    @unless(empty($sentryID))
        <!-- Sentry JS SDK 2.1.+ required -->


    @endunless
</div>
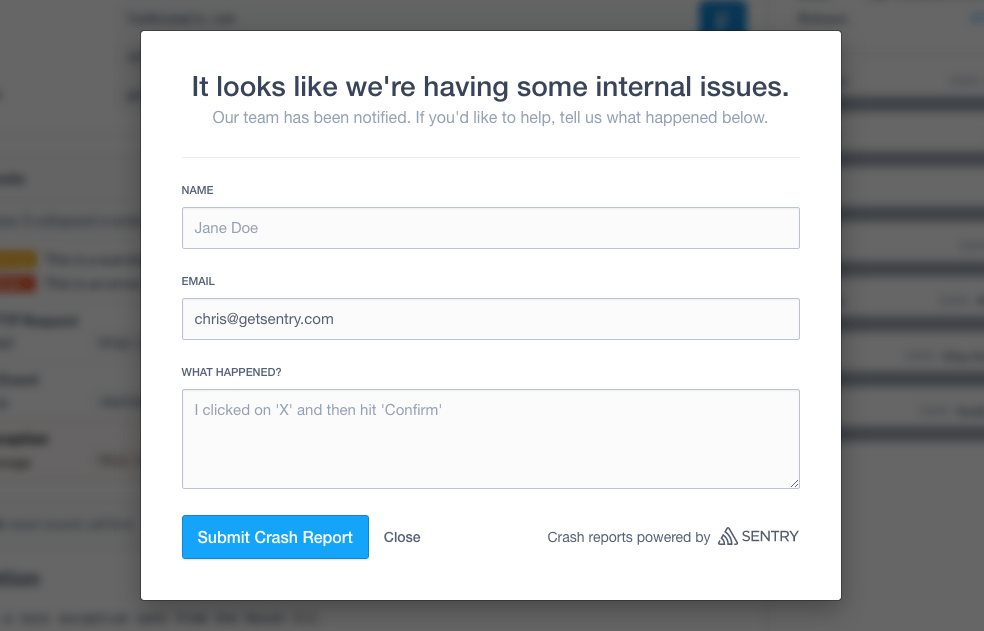
That's it! We'll automatically pull up the Feedback dialog when an error happens:
Learn More
Take a look at the sentry-laravel project on GitHub to learn more about how things are implemented, as well as additional details on using it with Sentry.
You can also get a jump on all the resources we've baked into Sentry to make it a great error monitoring resource for just about every use case.


