Continuous Releases with Travis CI and Sentry
Continuous Releases with Travis CI and Sentry
Here at Sentry, we use Travis CI, a continuous integration tool for GitHub that lets us automate our tests and view the results right within each pull request. In this blog post, we'll walk through a quick example of how to automatically create Sentry Releases with Travis CI when a commit is pushed to your project's master branch. (Sentry Releases enable some of our best features, like identifying the commits that likely introduced new errors, and much more!)
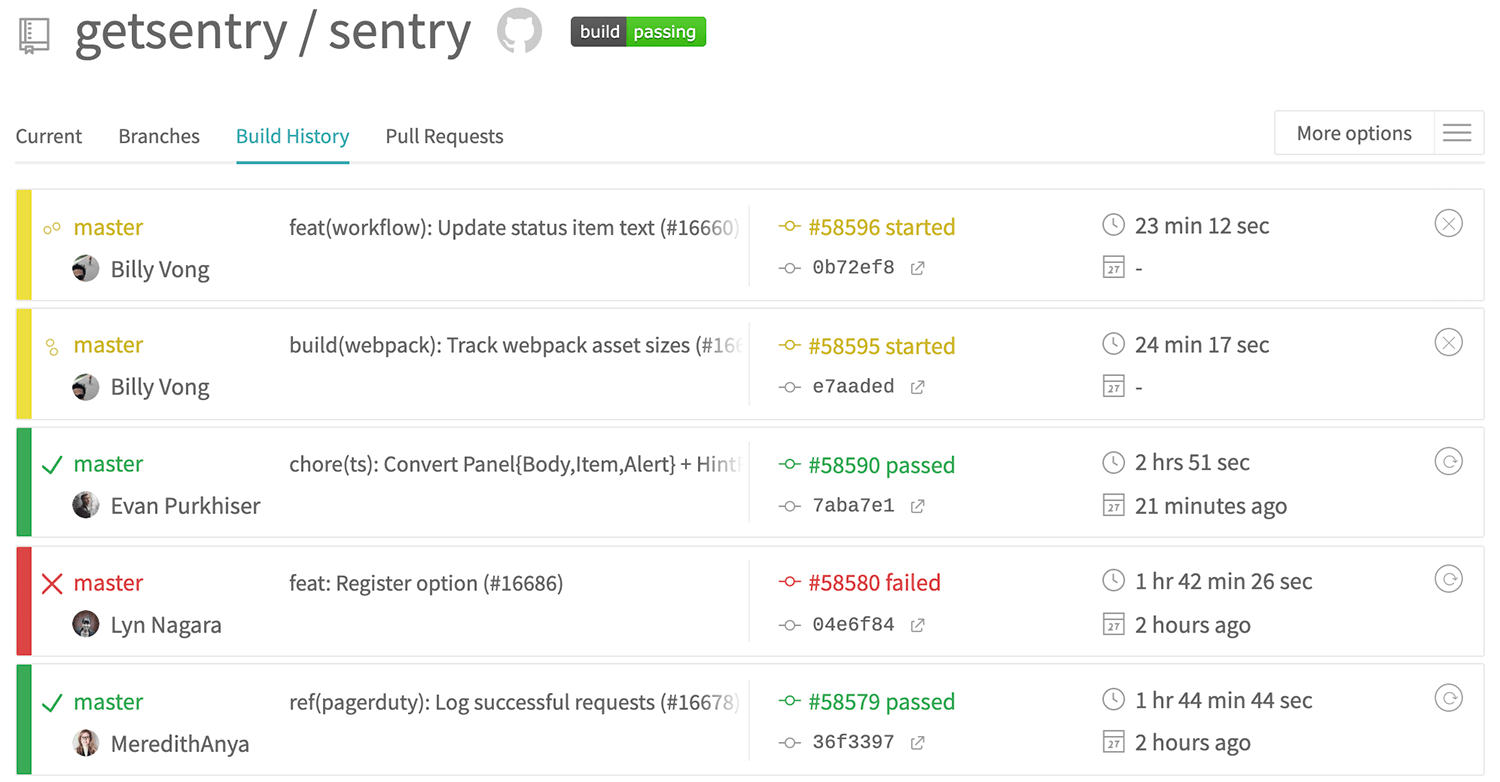
Fun fact: Since we support so many platforms, we use Travis CI to test our code in multiple environments in parallel. You can see the getsentry/sentry repo’s Travis config file here if you’re curious!
Setting up your Travis CI configuration file
If you're new to Travis CI, take a look at their getting-started guide to set up your account. You'll also need a GitHub repository to run Travis CI; it currently doesn't support other platforms.
Travis configurations are defined in a .travis.yml file within your project's repository. At minimum, you'll need to set one of Travis CI's supported programming languages and its version number. For example, here's a super minimal config file using Node.js:
language: node_js
node_js:
- 8Based on the programming language, Travis CI uses intelligent defaults to build and test your project in two phases: the install phase and the build phase. In the example above, Travis will automatically run npm install for the install phase and npm test for the build phase.
To customize the build process, Travis CI offers hooks to run your own commands at different stages in the job lifecycle. To run a custom build script, you can use the script hook:
    language: node_js
    node_js:
      - 8
    script: echo "Building all the things"
Learn more about Travis CI's job lifecycle hooks in their docs.
Building when commits are pushed to master
Travis CI lets you trigger new builds with two events: when a branch is pushed and when a pull request is created. By default, both events will trigger a build. You can change this behavior in the settings page for your project:
Let's say we want to run our tests on both events (pull requests and commits/merges), but we only want to create a new Sentry Release for commits/merges — and only for the master branch.
To set this up, we'll use the jobs key to run multiple scripts, with the if key to specify conditions for one of the scripts — in this case, if the triggering event is a push and the branch is master:
  jobs:
      include:
        - name: Run tests
          script: npm test
        - name: Create Sentry Release on push to master
          if: (type = push AND branch = master)
          script: # We'll cover this in the next sections
Learn more about conditional builds in the Travis CI docs.
When Travis runs the build, you can see the status of each separate job to verify which scripts are being run for each build that's been triggered:
Creating a Sentry Internal Integration
Our Integration Platform allows developers to connect Sentry with third-party tools — either as Public Integrations that anyone can use, or as Internal Integrations built only for one organization to combine Sentry with their internal tools and custom workflows.
To create a new Internal Integration, navigate to Settings > Developer Settings > New Internal Integration within Sentry. There, you'll give your new integration a title (for example, "Create Sentry Releases with Travis CI"), choose which permissions to use, and get your token for authenticating with Sentry's API.
Setting permissions
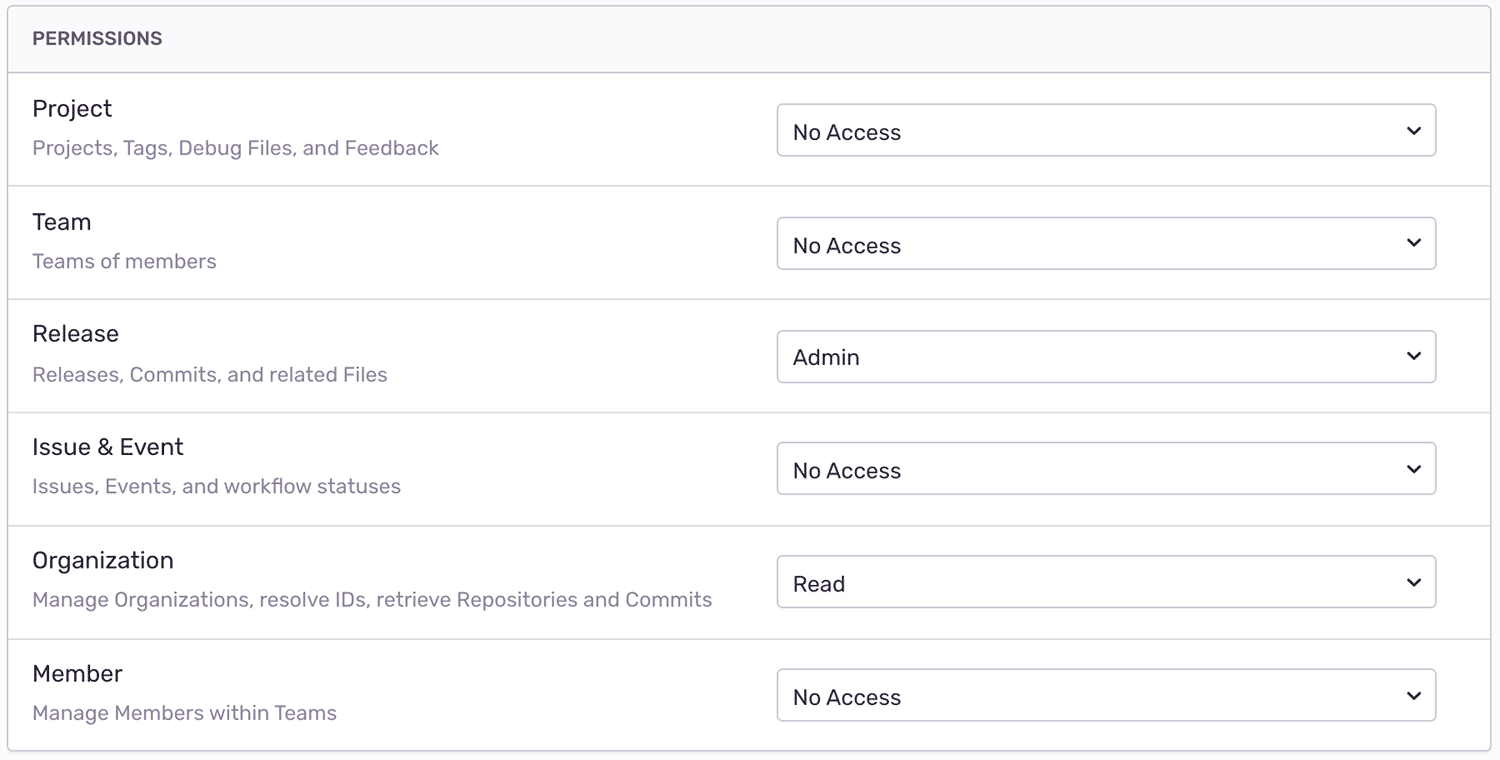
You can apply different sets of permissions for each integration. For this one, we'll need Admin access for "Release" and Read access for "Organization":
See our docs page on permissions to learn more about scopes for Sentry's API endpoints.
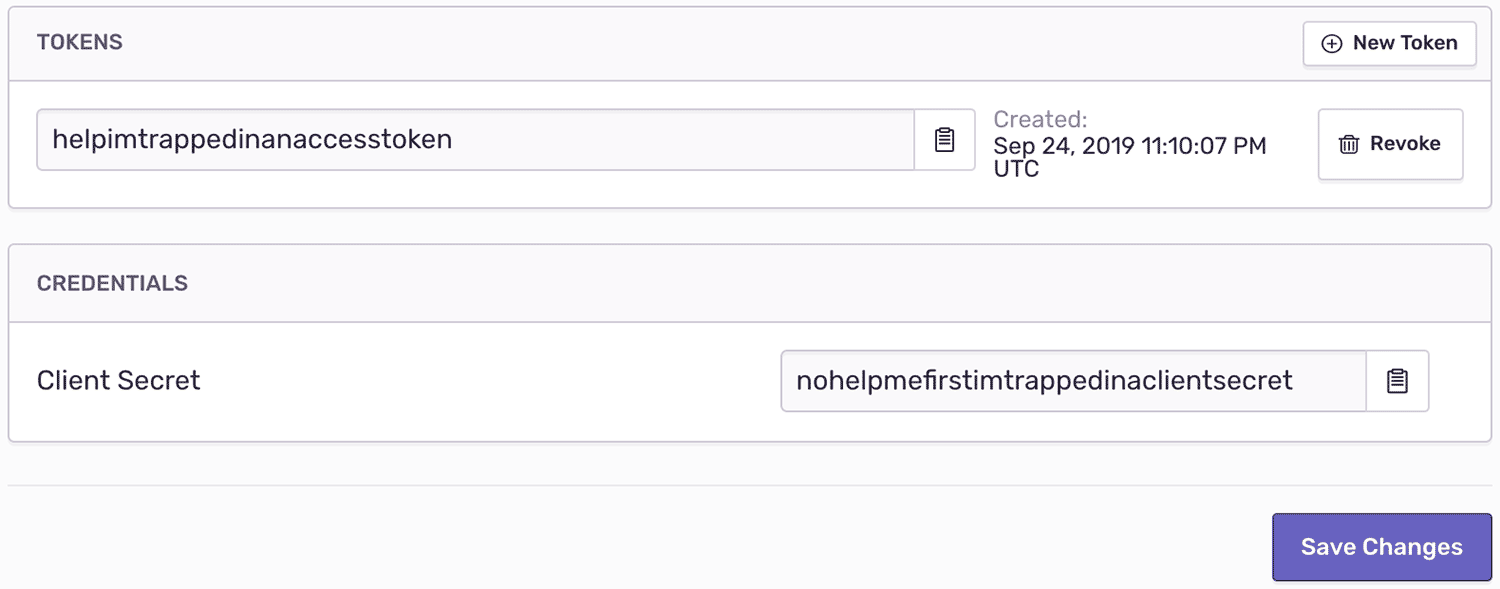
Next, click "Save" at the bottom of the page and then grab your token:
In the next section, we'll use this Internal Integration token to enable Travis CI to authenticate with Sentry's API when creating a new Release.
Creating Sentry Releases with Travis CI
First things first: you’ll need to enable Sentry Releases by linking your commit metadata to your Sentry project. The simplest way to set this up is to use our GitHub integration to link your repository to Sentry. (Reminder again that Travis CI only supports GitHub.)
Setting environment variables
To create our Releases, we'll use the Sentry command line interface (CLI), which uses a few environment variables to connect to your Sentry project:
SENTRY_AUTH_TOKEN- Your Internal Integration token.SENTRY_ORG- Your Sentry organization slug.SENTRY_PROJECT- Your Sentry project slug.
Travis CI supports both public and private environment variables. For our non-sensitive environment variables, you'll add them to .travis.yml. For private environment variables, you can add them via the Travis admin backend on the "Repository Settings" page for your project. (See their docs for details.) Any variables saved there will be redacted in your logs, appearing as [secure] so that your private data can’t be revealed accidentally. This is where you should save your SENTRY_AUTH_TOKEN variable:
Note: If you define a variable with the same name in both your settings page and your config file, the value in your config file will take precedence.
Next, define your Sentry organization and project as public variables using the env key in your .travis.yml config file. By default, Travis runs a separate build for each environment variable in the list; to set multiple environment variables for a single build, you can define them all on one line:
    env:
    	- SENTRY_ORG=myorg SENTRY_PROJECT=myproject
Using the Sentry command line interface to create Releases
Finally, to install the Sentry CLI and create a new Sentry release after the build phase has completed successfully, we’ll use the following Bash commands in Travis CI's script hook:
    script: |
      curl -sL https://sentry.io/get-cli/ | bash
      export SENTRY_RELEASE=$(sentry-cli releases propose-version)
      sentry-cli releases new -p $SENTRY_PROJECT $SENTRY_RELEASE
      sentry-cli releases set-commits --auto $SENTRY_RELEASE
      sentry-cli releases finalize $SENTRY_RELEASE
The Sentry CLI commands above create a new release in Sentry using your project's most recent Git SHA, and then associate it with the commits from your local repository. For more details on each command, check out our docs page on release management with the Sentry CLI.
Here’s our complete .travis.yml file to create a new Sentry release whenever a commit is pushed to the project's master branch:
    language: node_js
    node_js:
      - 8
    jobs:
      include:
        - name: Run tests
          script: npm test
        - name: Create Sentry Release on push to master
          if: (type = push AND branch = master)
    			env: SENTRY_ORG=myorg SENTRY_PROJECT=myproject
          script: |
    			  curl -sL https://sentry.io/get-cli/ | bash
    			  export SENTRY_RELEASE=$(sentry-cli releases propose-version)
    			  sentry-cli releases new -p $SENTRY_PROJECT $SENTRY_RELEASE
    			  sentry-cli releases set-commits --auto $SENTRY_RELEASE
    			  sentry-cli releases finalize $SENTRY_RELEASE
Be sure to check out our documentation for more details about managing Sentry releases.
Verifying that your Sentry Releases are working
To trigger Travis CI to run a new build, you'll need to push a new commit to your GitHub repository. (Be sure to push the commit to whichever branches you specified in your config file.) Then you can read the complete build log in your Travis CI admin backend.
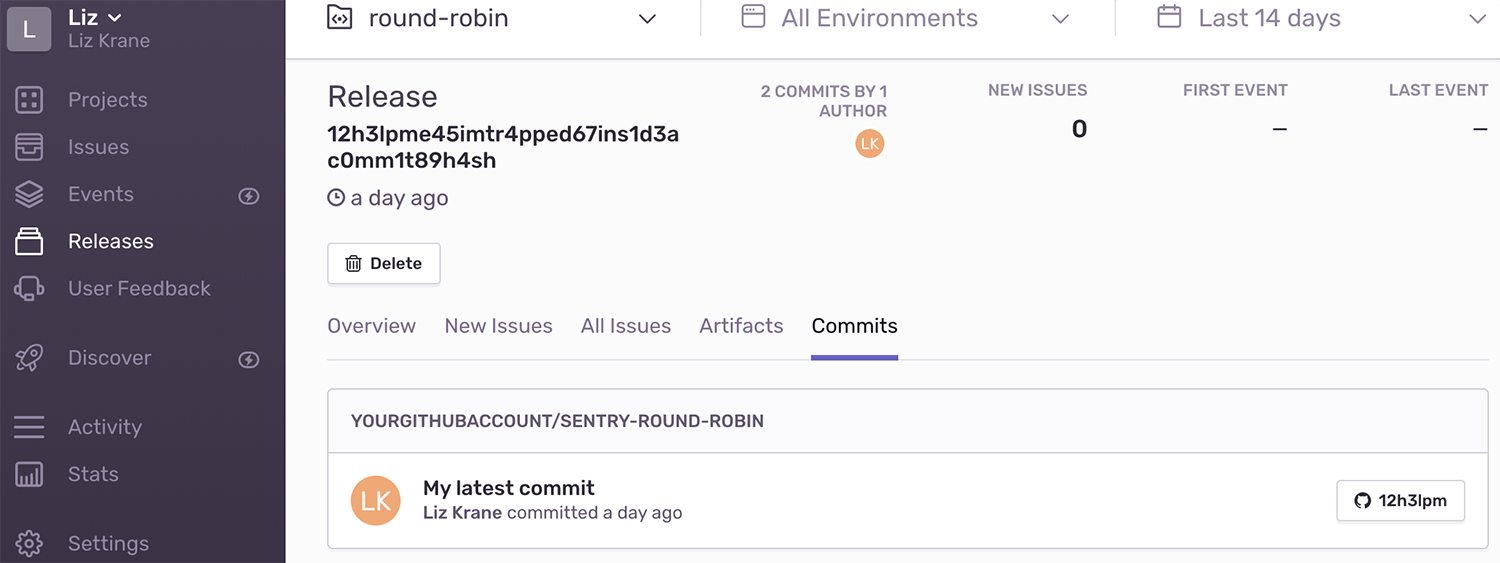
If your new build succeeded, log into your Sentry account and take a look at your project's "Releases" page. You should see a brand new release listed for your project, listing the SHA of your latest commit:
Next, you can use the Sentry CLI to send an event for your project to confirm that new events will be correctly associated with the latest release. If you run this from within your project's Git repository, the current release will be linked to the event automatically:
   export SENTRY_DSN=https://mydsnhere@sentry.io/1234
   sentry-cli send-event -m "Test event, should be linked to the latest release"
See our docs for more about sending events with Sentry's command line interface.
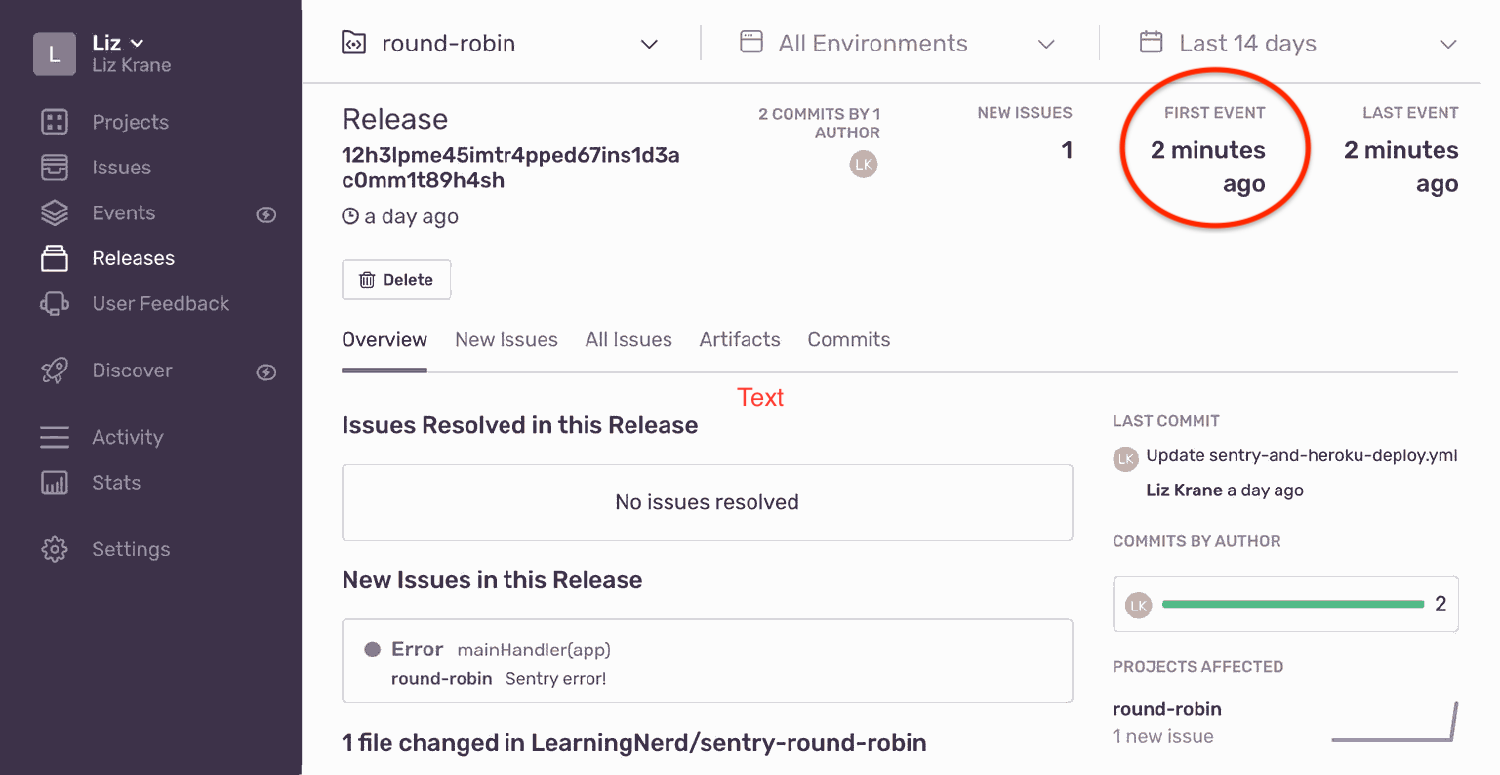
After sending the test event, you’ll see a new unresolved issue associated with your Sentry project's latest release:
Continuously integrate with custom integrations
At Sentry, we're big fans of integration in all forms. We use Travis CI for our own continuous integration, and we have an Integration Platform to let all developers integrate Sentry with their favorite tools and custom workflows.
If you'd like to explore more ways to customize your application monitoring workflow, be sure to check out our third-party integrations, command line interface, and REST API. And as always, we welcome you to post feedback in our forum or ask our support engineers for help.


