Catching Flaky Tests Before It's Too Late
Catching Flaky Tests Before It's Too Late
This is a guest post from Artem Zakharchenko, creator of MSWJS, an API mocking library for Javascript. He also writes about testing for EpicWeb and on his personal blog.
Test flakiness is a big issue. Not only can it be a colossal time investment to detect and fix, but it hurts perhaps the biggest value you get from your tests—their trustworthiness. A test you cannot trust is a useless test. Time spent maintaining a useless test is time wasted; time that could have been spent building.
I've already shared with you a practical guide on addressing flaky tests, but today I'd like to talk about what it all starts from. Detecting flakiness.
The root cause of flaky tests
One thing I learned over the years of testing is that flakiness can hide its roots in every layer of your system. From the way you write the test to the test setup and the tools you're using. Even in the hardware that runs all of that. And the more layers your test involves, the easier it is for flakiness to slip through.
It's not a coincidence that end-to-end tests are notoriously known to be flaky. There are a lot of things at play between the two ends. Add to that a generally higher cost of maintenance, and you've got yourself a problem nobody on the team wants to deal with.
The worst thing of all is that the sporadic nature of flakiness makes it compellingly easy to brush off an occasionally failed test. When so many layers are involved, who knows, perhaps it was a hiccup somewhere down the line. Just hit the "Rerun" button, see the test passing, and move on with your day.
Sadly, that is how most teams approach flakiness at its early stage. Ignore it once, then twice, and, suddenly, you are gambling on the CI results of your product, pulling those reruns just to see it turn green.
I’ve talked with teams that have given up on the whole idea of E2E testing because of how unreliable their test suites eventually became.
That's now how automated tests are supposed to work.
Addressing flaky tests instead of ignoring them
In larger teams, flakiness can easily go unnoticed. You might not be the one experiencing the flaky test to begin with. You might not need to constantly rerun the tests. Your team members who are being affected by flakiness might assume it’s just “the way it is”. But flakiness will eventually affect everyone.
It is rather nasty to find yourself in a situation when an important pull request is stalled until you win the rerun game. I've been there. That's why I put a ton of effort into keeping my builds green at all times, eradicating flakiness as soon as it surfaces.
It is all the more useful to have tools by your side to help you detect and track flaky tests across your product.
Recently, Codecov announced Test Analytics and I wanted to try it straight away. And the best way to try is to reproduce one of the common mistakes that leads to flakiness and see how it would help me catch and fix it.
Testing flaky test detection
Here I've got a basic in-browser test using Vitest Browser Mode:
``` import { render } from 'vitest-browser-react' import { screen } from '@testing-library/react' import { worker } from '../src/mocks/browser.js' import App from '../src/App.jsx' beforeAll(() => worker.start()) afterAll(() => worker.stop()) function sleep(duration: number) { return new Promise((resolve) => { setTimeout(resolve, duration) }) } it('renders the list of posts', async () => { render(<App />) await sleep(250) const posts = screen.getAllByRole('listitem') expect(posts).toEqual([ expect.toHaveTextContent('First post'), expect.toHaveTextContent('Second post'), ]) }) ```
This one concerns itself with testing the <App /> component that renders a list of user's posts. Fairly simple. For those with a sharp eye, you've likely already spotted the problem with this test, but let's imagine I didn't. I wrote it, ran it, saw it successful, got the changes approved, and now it runs on main for everyone in my team.
Let's see how the experience will look like for me (and my teammates) if I've got test analytics set up to track flaky tests.
Getting started with Codecov’s Test Analytics
Test Analytics is available as part of Codecov. The flaky test detection features I’m showing here are freely available for any public repo, or with pro and enterprise plans for private repos. You can integrate it in your project in just three steps.
Step 1: Install the Codecov app in GitHub
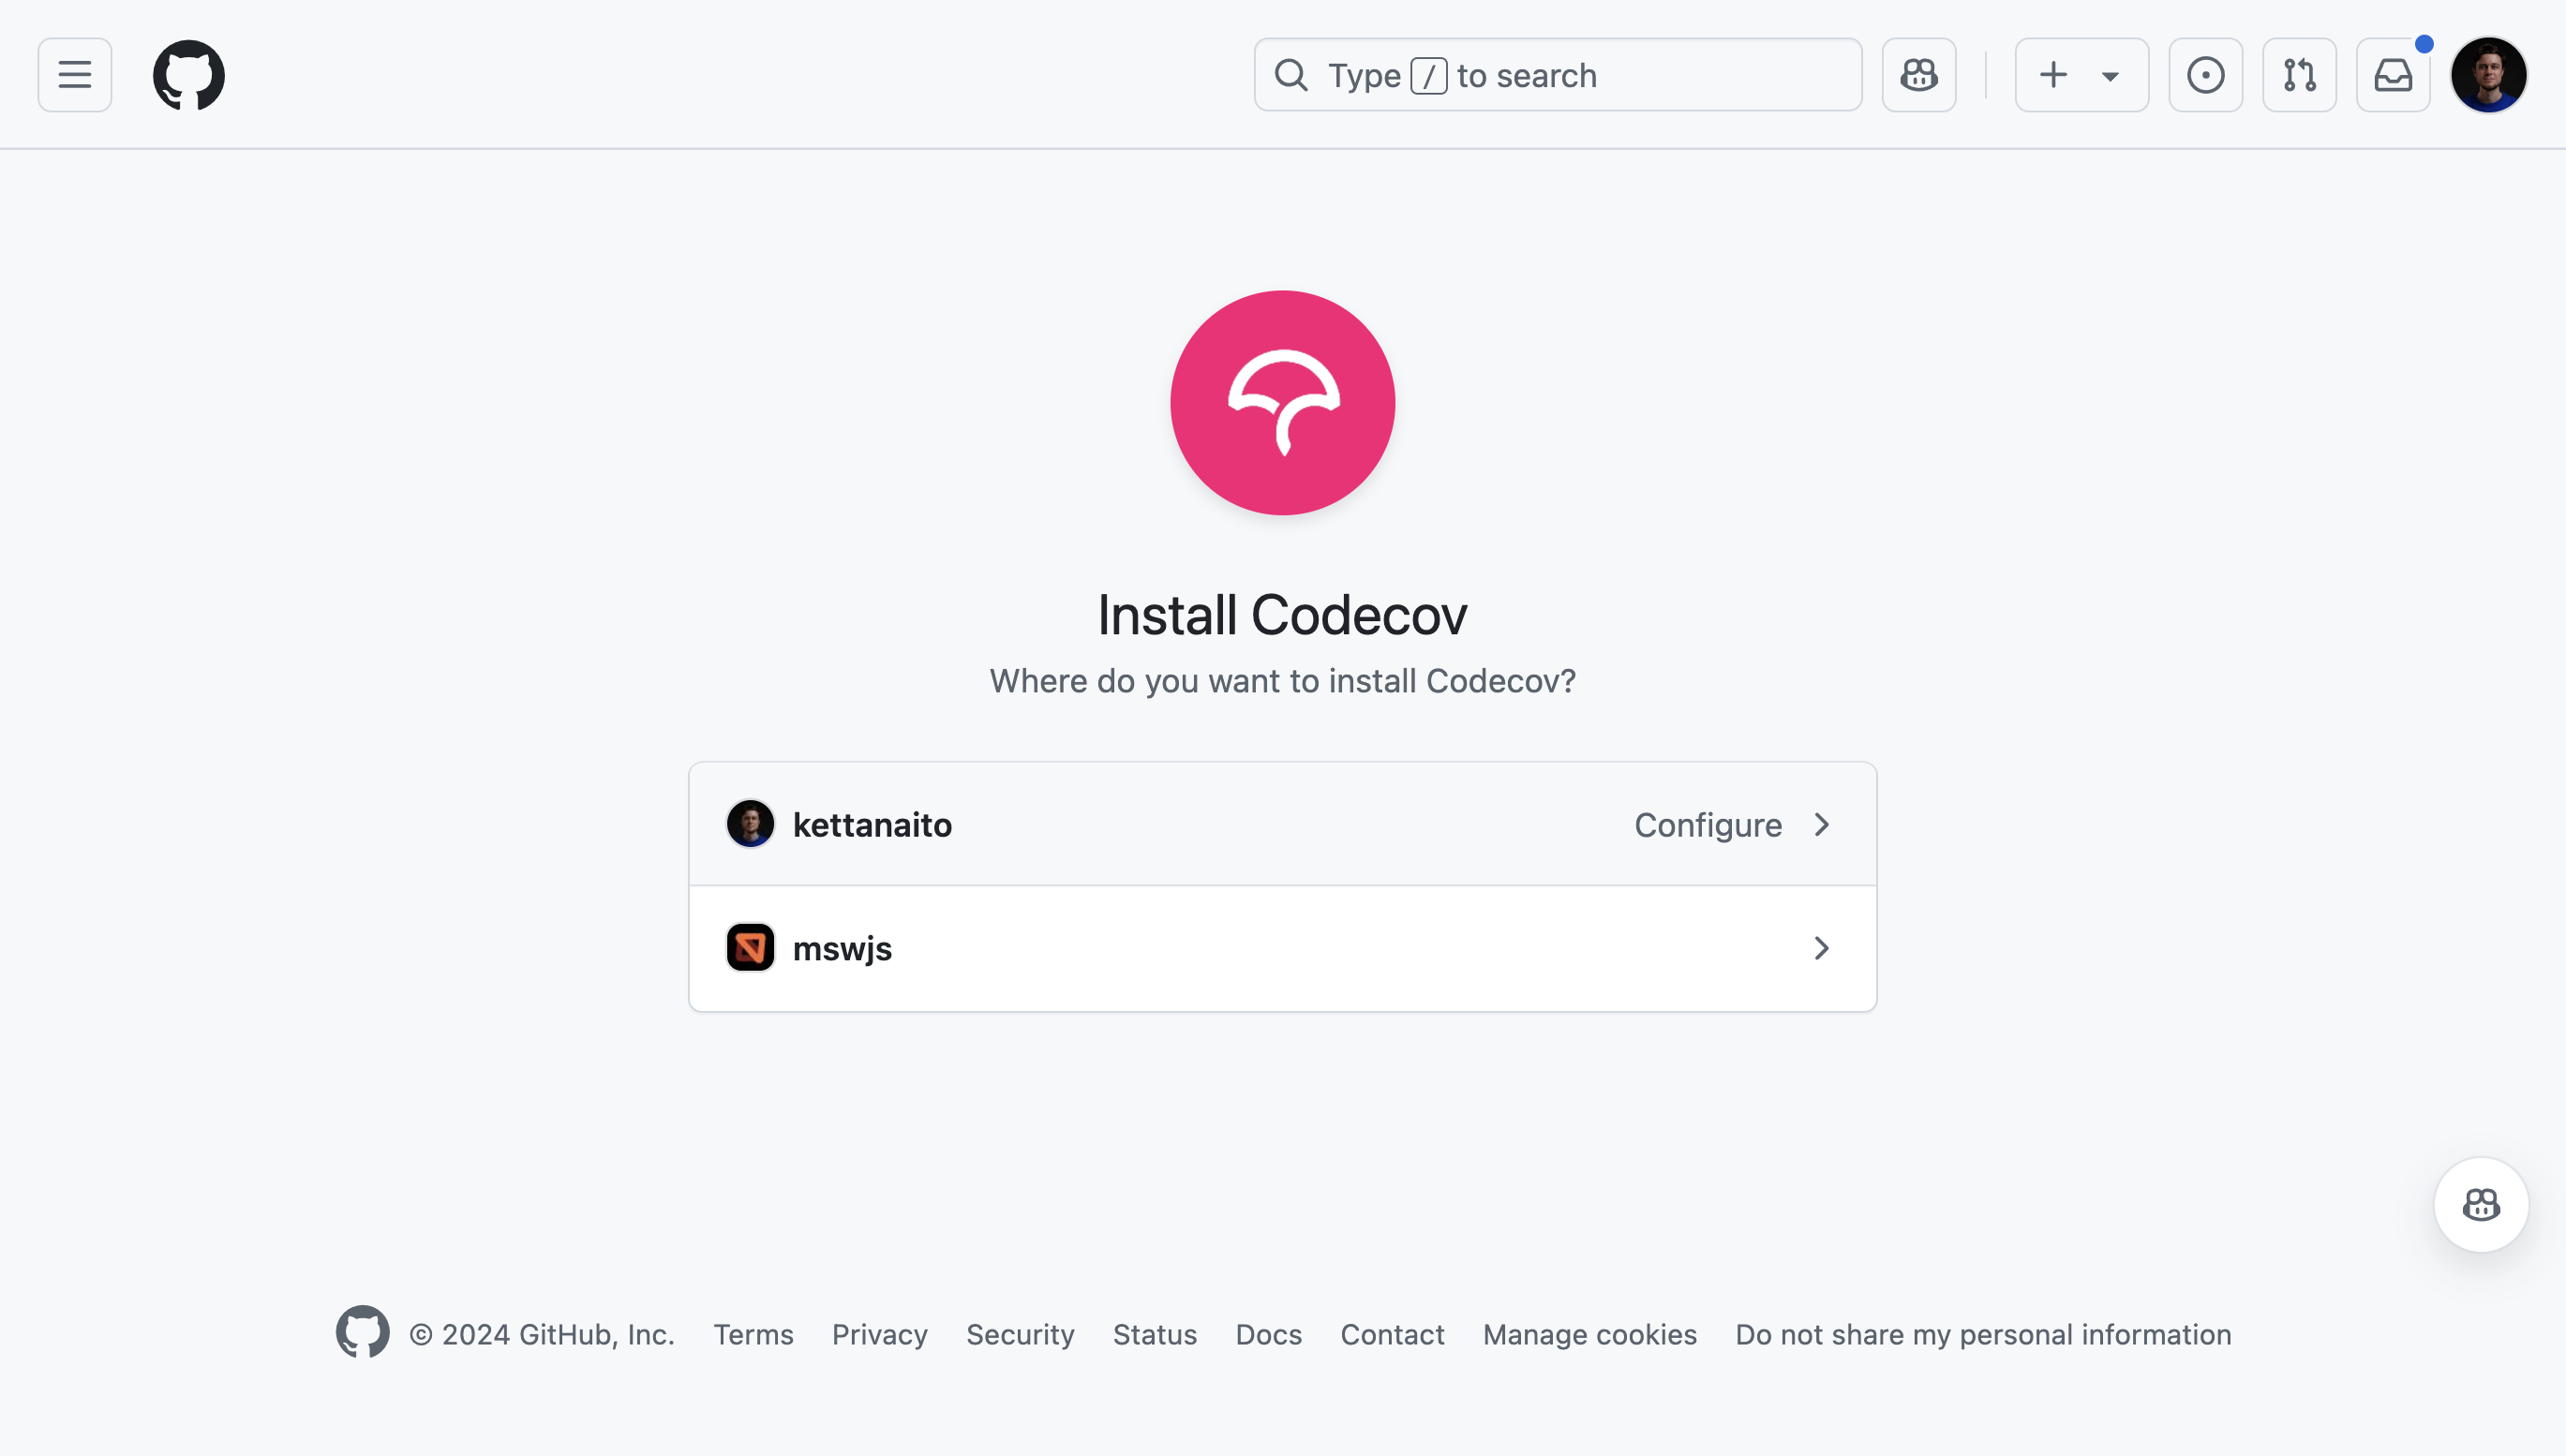
For starters, make sure you install the Codecov app on GitHub and authorized for the repositories you want to add Test Analytics to.
Step 2: Configure Vitest to write the test report in JUnit format
Test Analytics works by parsing the results of your test run in JUnit format (don't worry, you don't have to actually use JUnit!). I use Vitest in my project, and luckily it supports outputting the test report in that format.
Provide junit as a test reporter to Vitest in vitest.config.ts:
// vitest.config.ts
import { defineConfig } from 'vitest/config'

export default defineConfig({
  test: {
    reporters: ['default', 'junit'],
    outputFile: './test-report.junit.xml',
  },
})
I've also added the default reporter so I can still see the test output in my terminal like I'm used to.
And yes, Vitest supports different reporters and code coverage in the Browser Mode too.
Step 3: Upload test reports to Codecov
The only thing left to do is to run automated tests on CI and upload the generated report to Codecov. I will use GitHub Actions for that.
name: ci

on:
  push:
    branches: [main]
  pull_request:
  workflow_dispatch:

jobs:
  test:
    runs-on: ubuntu-latest
    steps:
      - name: Checkout
        use: actions/checkout@v4

      - name: Install dependencies
        run: npm install

      - name: Install browsers
        run: npx playwright install chromium

      - name: Run tests
        run: vitest

      - name: Upload test results
        # Always upload the test results because
        # we need to analyze failed test runs!
        if: ${{ !cancelled() }}
        use: codecov/test-results-action@v1
        with:
          token: ${{ secrets.CODECOV_TOKEN }}
Learn how to create the CODECOV_TOKEN here.
Notice that the upload action is marked to run always (${{ !cancelled() }}) so we could analyze the failed test runs as well.
Reading the test analytics by Codecov
Once the setup is done, you will start getting reports in your pull requests highlighting overall test results and also any detected flakiness.
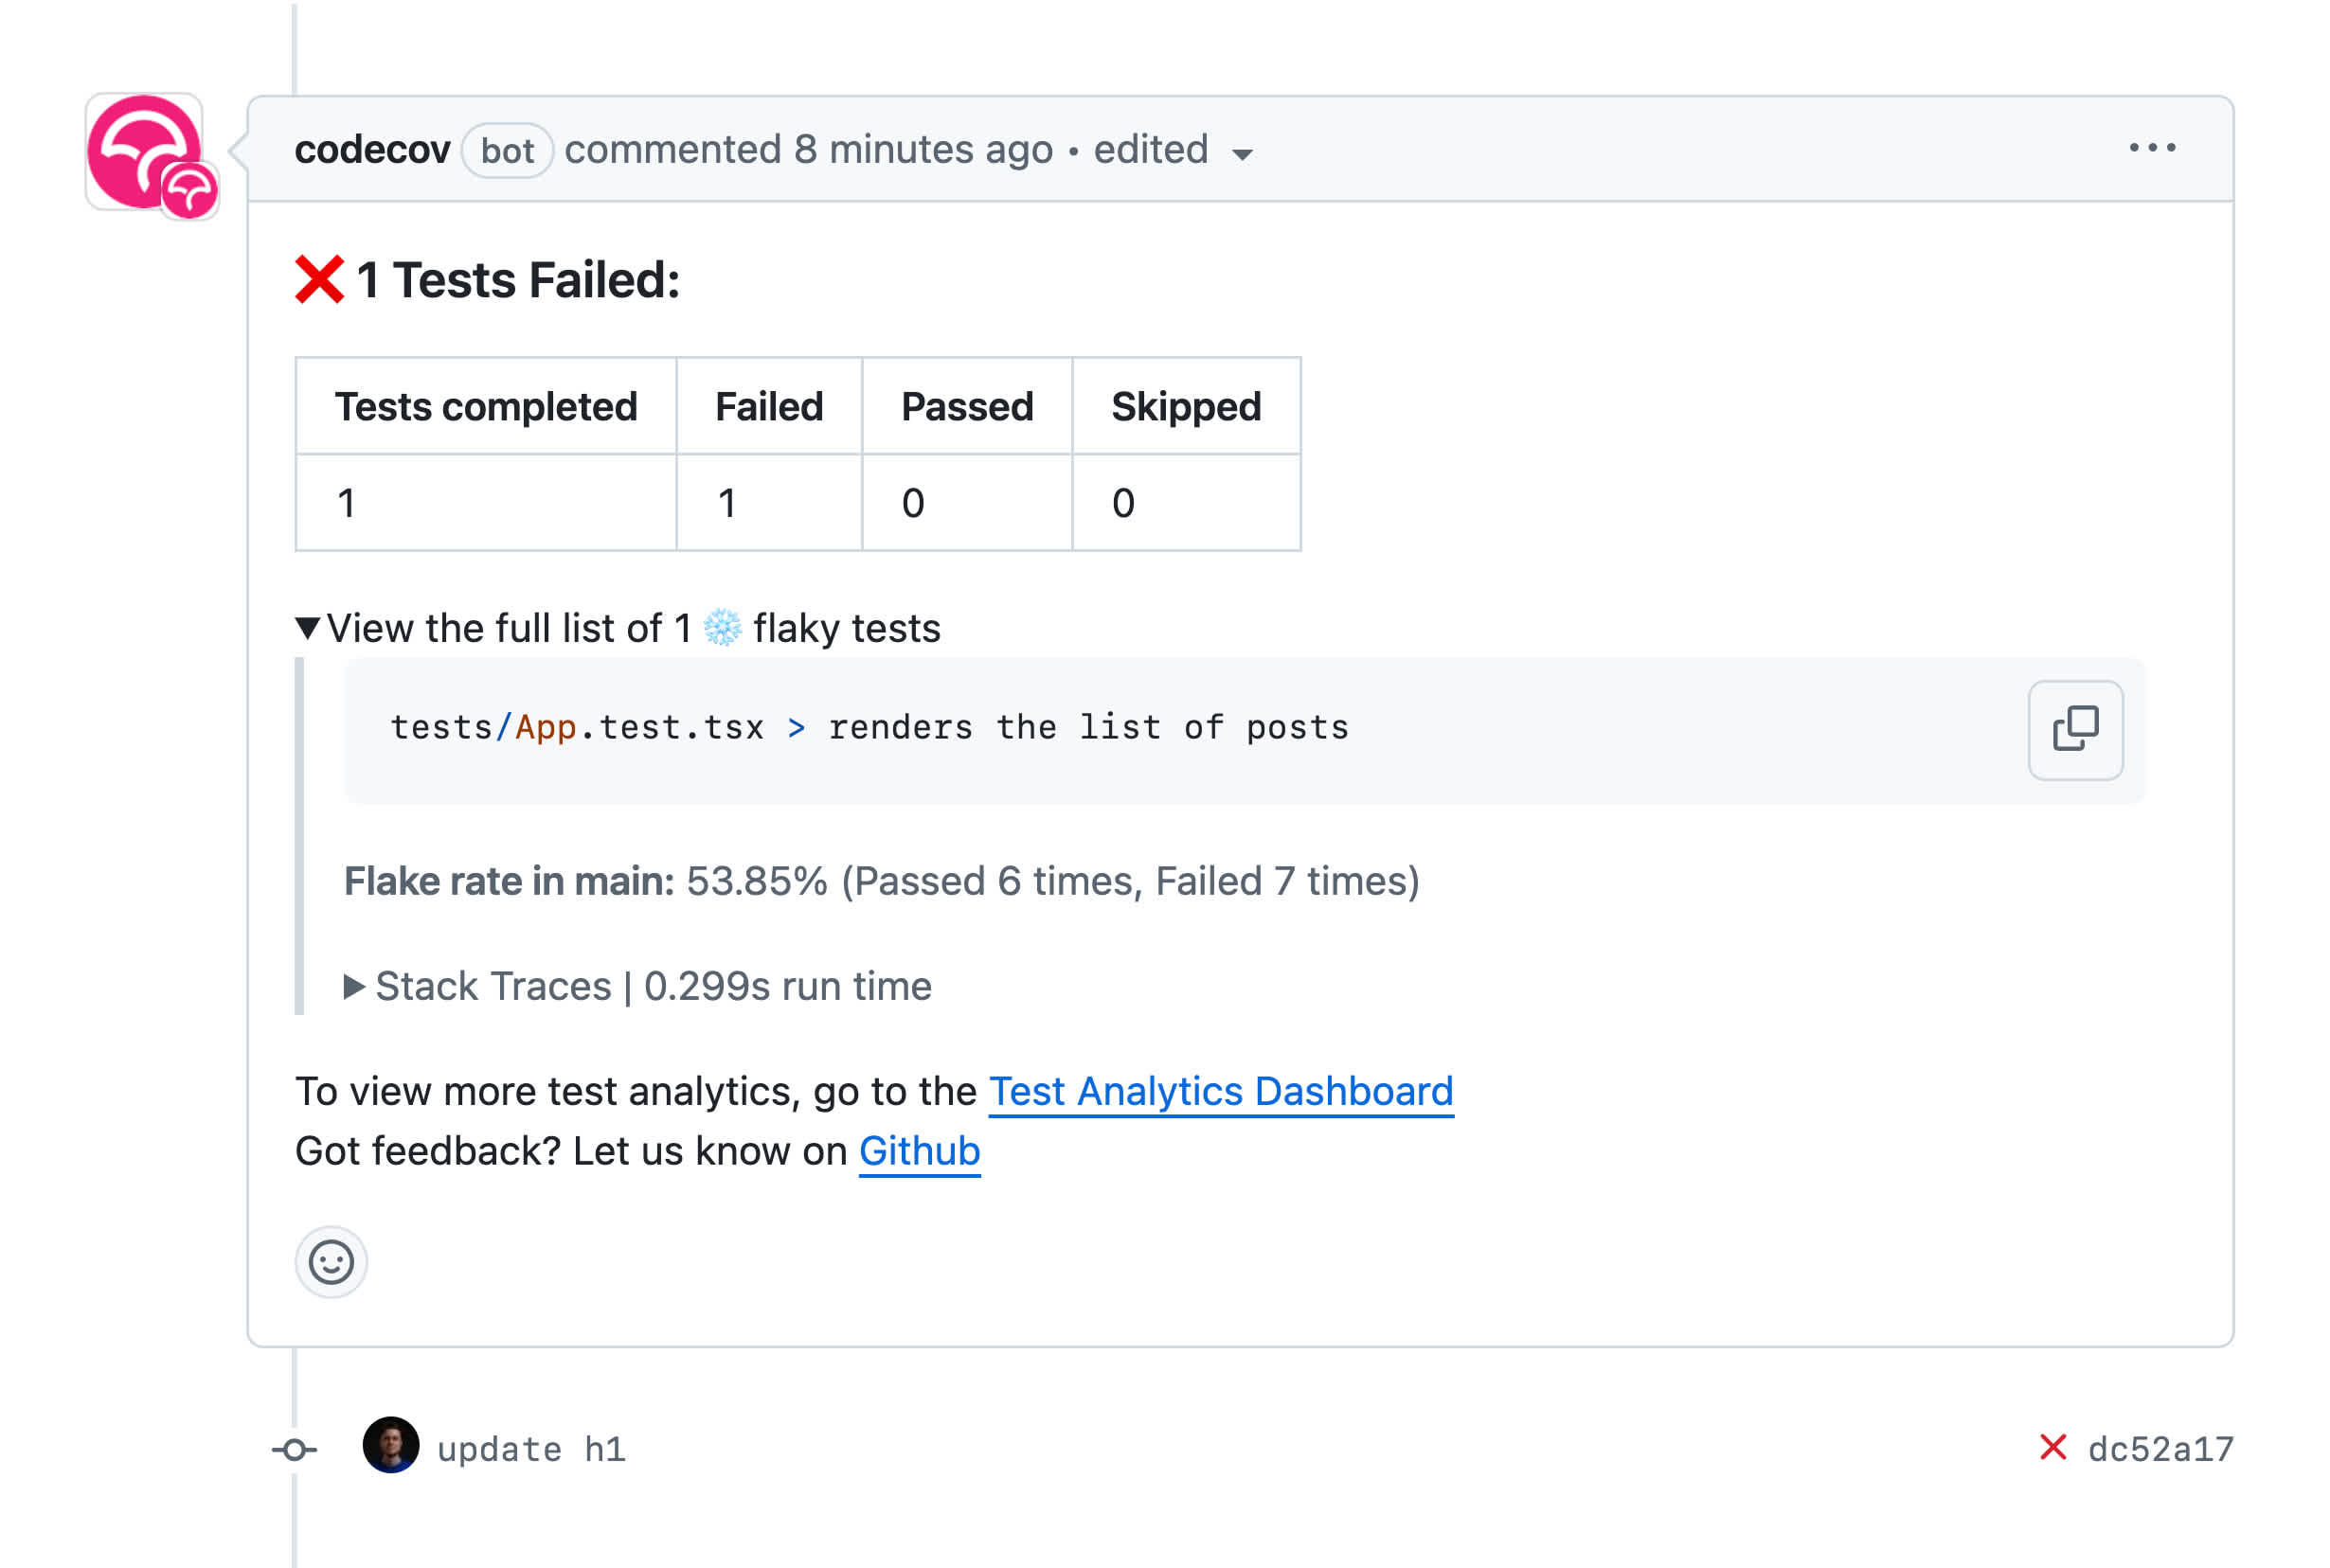
Once someone on my team encounters the flakiness coming from the test I added, they will see an immediate report from Codecov right under the pull request:
An even more detailed report is available on Codecov. Once you’ve logged into Codecov, you can open the repository and navigate to the "Tests" tab. This tab is where you will find the Test Analytics Dashboard.
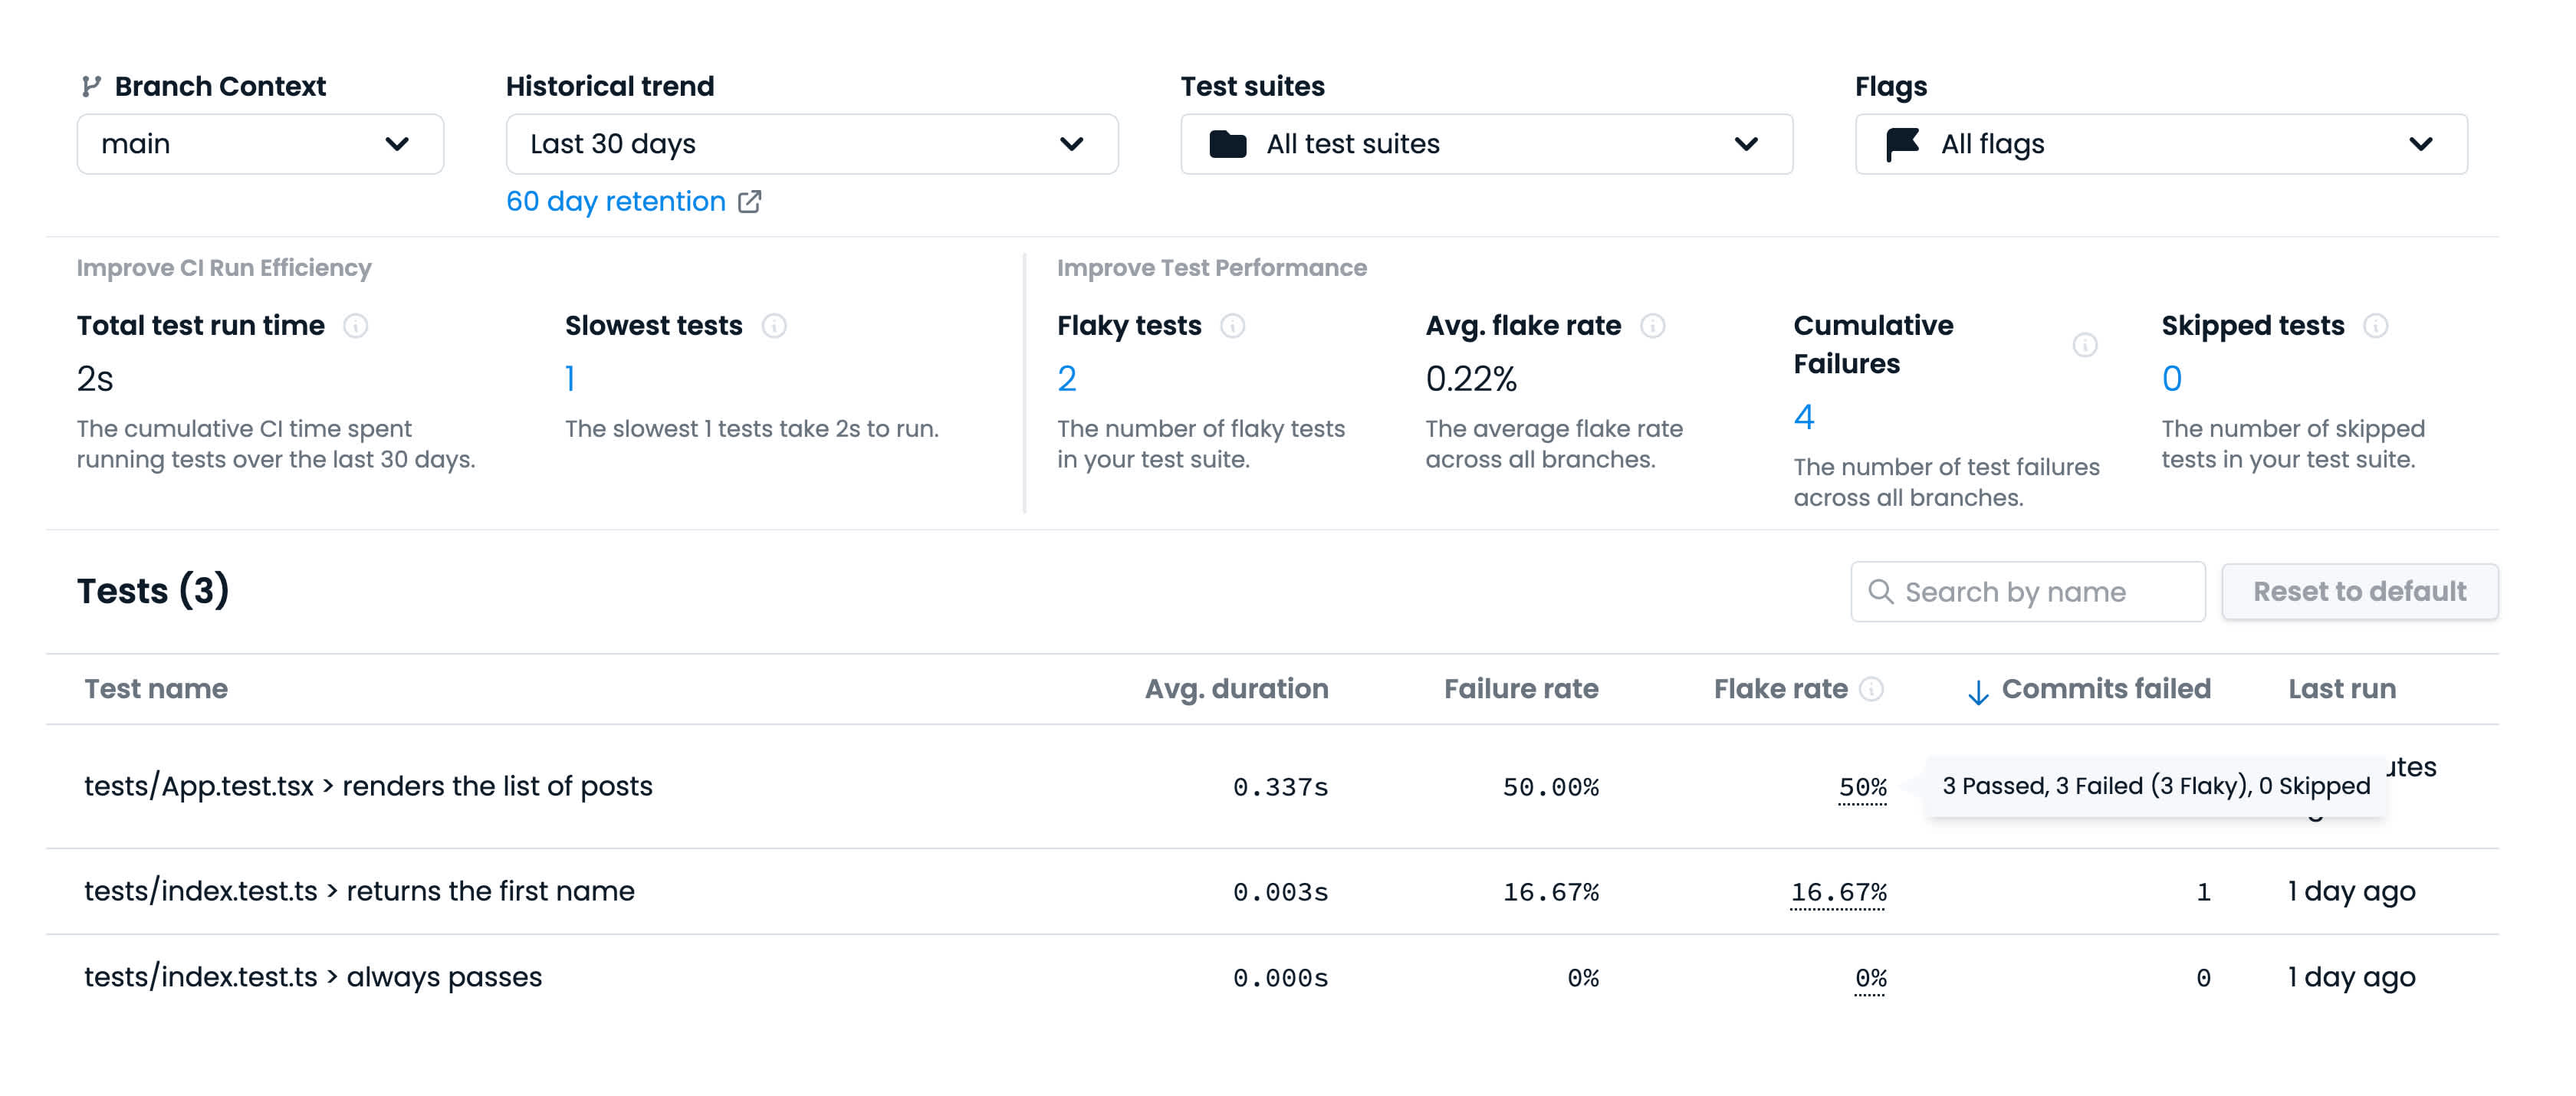
Here's how the test analytics report looks for the main branch:
I can see straight away that the test I introduced has been flaky on main ("renders the list of posts"). That won't do!
There's also a lot of other metrics on display here, the most useful criteria for me being:
Flaky tests, the list of unreliable tests I have;
Slowest tests, the list of tests that take most time to run;
Average flake rate, to help me monitor my efforts as I go and fix flaky tests across the entire project.
With a way to track that problematic test, it's time for me to fix it for good.
Fixing flaky tests using insights from Codecov
Normally, I would start by removing the flaky test from the test suite entirely. But when I open the test I can see the root cause right away:
await sleep(250) // ❌
Using sleep in a test is a terrible idea. You are almost never waiting for a certain amount of time to pass, but rather you are waiting for a certain state to change.
Since I know the root cause, I’m going to propose a fix straight away. In the <App /> test case, the state I’m waiting for is when the user posts a response and the list of posts renders in the UI. I need to rewrite the test to reflect that:
-const posts = screen.getAllByRole('listitem')
-await sleep(250)
+const posts = await screen.findAllByRole('listitem')
By swapping the getAllByRole query with the findAllByRole I am introducing a promise that will resolve once the list items are present on the page. Lastly, I await that promise, making my test resilient to how long it takes to fetch the data.
And with that, the flake is gone! 🎉
Resources
Find failing and flaky tests with Codecov Test Analytics


